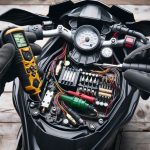
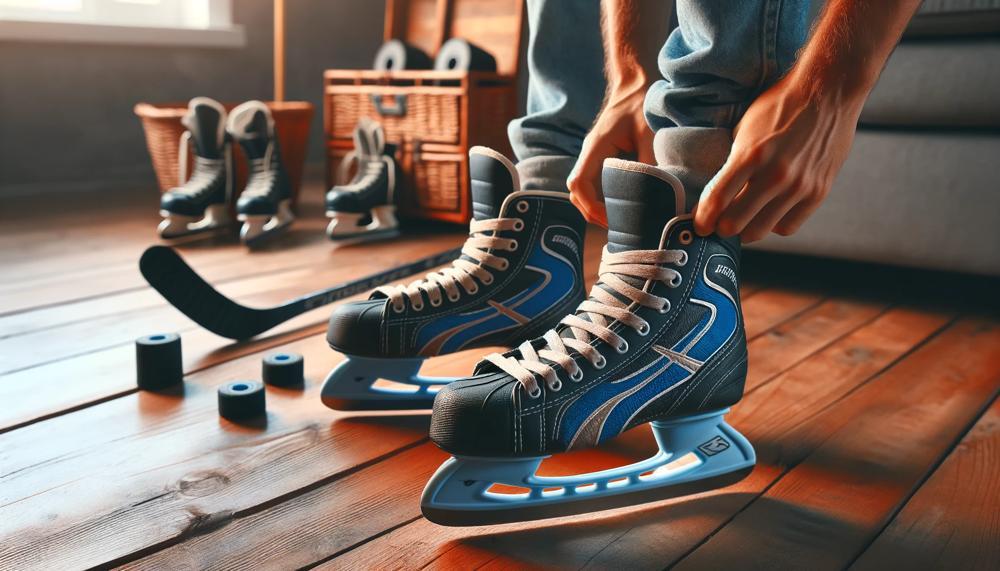
Are you a passionate hockey player looking to elevate your game on the ice? Have you ever considered crafting your own hockey skates from scratch? While it may seem like a daunting task, creating custom-fit skates at home can be an exciting and fulfilling experience.
In this blog post, we will delve into the process of making homemade hockey skates and explore why it’s a fantastic option for avid players.
So, how do you make hockey skates at home?
Here are some tips for baking hockey skates at home:
- Preheat: Preheat the oven to 175°F (79°C). This temperature will soften the material without melting it.
- Loosen tongue: Loosen the tongue of the skate.
- Bake: Place the skate in the oven and bake for 5 to 7 minutes, depending on the manufacturer.
- Mold: While the skate is baking, lean forward a bit and flex your ankle forward. You can also stand on the skate to add width.
- Cool: Let the skate cool for 24 hours before skating.
- Wear socks: Wear the socks you normally wear when you skate.
You can also add tissue to the skate while it’s baking to compress the foam and apply less pressure to sore spots.
If you want to make doll ice skates, you can use a cereal box and craft paint.
So why settle for generic store-bought skates when you can have one-of-a-kind footwear that reflects your unique style and needs?
Let’s dive into the world of DIY hockey skate making and discover how you can elevate your game with handmade precision.
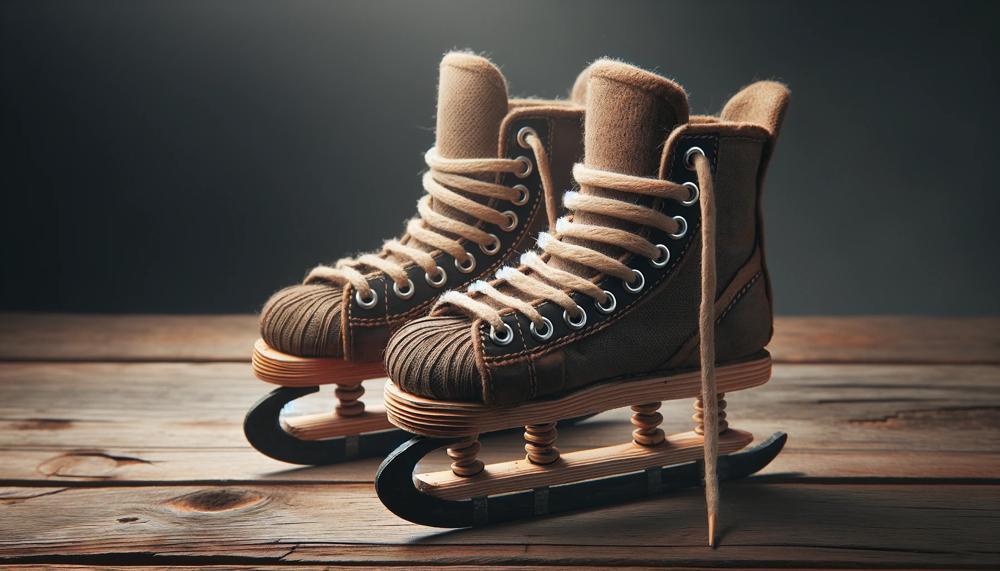
The Difference In Quality
Contents
When it comes to hockey skates, there are a few key factors that can greatly impact the overall quality of the product. These include customization, material quality, blade profiles, attention to detail, and cost.
Let’s take a closer look at each of these factors and how they contribute to the difference in quality between homemade and store-bought hockey skates.
- Customization: One of the main advantages of homemade hockey skates is the ability to fully customize them to fit the player’s specific needs and preferences. This results in a personalized fit for maximum comfort and performance on the ice. In contrast, store-bought skates offer limited customization options which may not provide the perfect fit for players.
- Quality of Materials: Store-bought skates are often made with cheaper materials to cut costs, while homemade skates can be crafted with top-of-the-line materials for better durability and performance. This means that homemade skates are more likely to last longer and withstand the wear and tear of intense gameplay.
- Custom Blade Profiles: With homemade skates, players have the freedom to experiment with different blade profiles to find one that suits their playing style best. On the other hand, store-bought skates offer limited options in this regard, limiting a player’s ability to fully customize their skating experience.
- Attention to Detail: Homemade skates are handcrafted by skilled individuals who pay close attention to detail, resulting in a more precise and well-made product. This level of attention ensures that every aspect of the skate is made with precision and care, leading to a higher quality end product.
- Cost: While the initial cost of making homemade skates may be higher, they tend to last longer due to the use of higher-quality materials and the ability to repair or replace parts as needed. This can ultimately save players money in the long run, making homemade skates a more cost-effective option in the long term.
Start Small
Starting small is the key to success when it comes to crafting your own hockey skates at home. As a novice, there are several affordable and straightforward materials and tools you can use to begin your DIY journey.
Materials:
- Leather or synthetic leather: This will serve as the primary material for the boot of your skate.
- Foam padding: This will provide both comfort and support for your feet inside the skate.
- Steel blades: These can be obtained from a sports store or repurposed from old skates.
- Rivets and eyelets: These are necessary for attaching the blade to the boot and laces to the boot, respectively.
- Adhesive: A strong adhesive, such as epoxy or shoe glue, will be required for joining materials together.
Tools:
- Basic hand tools: Hammers, screwdrivers, tape measures, etc. are essential for any DIY project.
- Power tools: While not necessary, having access to power tools like a cordless drill or miter saw can make certain tasks easier.
- Safety equipment: It is crucial to always wear safety goggles and face masks when working with tools and materials.
- Flexible smoothing tool: This tool will aid in adhering materials together smoothly.
- Rubber mallet: This will come in handy for shaping and molding materials like foam padding.
- Multi-angle measuring ruler with a drill hole locator: This tool guarantees precision when drilling holes for eyelets and rivets.
By utilizing these materials and tools, beginners can start small by making simple adjustments to existing skates before progressing to creating their own from scratch.
It is vital to prioritize safety at all times and take things one step at a time in order to achieve optimal results.
Rough It Out
To create a rough draft or outline for your homemade hockey skate project, try breaking it down into smaller, manageable steps. Not only will this make the process more organized and efficient, but it also allows for adjustments and improvements along the way. Here is a suggested outline for making your own homemade hockey skates:
- Gather materials: Before you begin, make sure to gather all the necessary materials such as leather or synthetic leather, foam padding, steel blades, rivets, eyelets, adhesive, hand and power tools, safety equipment, a smoothing tool, a rubber mallet, and a measuring ruler.
- Design and measure: Accurately measure and mark the dimensions of your feet on the leather or synthetic leather material using a measuring ruler. This will serve as a guide for cutting out the appropriate pieces for your skates.
- Assemble the boot: Use hand and power tools to attach the pieces of leather or synthetic leather together with adhesive and rivets to assemble the boot. Be sure to leave enough space for padding and adjust for a comfortable fit.
- Add padding: Cut foam padding to fit inside the boot and secure it in place with adhesive. This will provide cushioning and support for your feet while skating.
- Attach blades: Use a rubber mallet to securely attach steel blades to the bottom of the boot with rivets. Make sure they are properly aligned.
- Customize: Get creative and add any additional design elements or personalization such as team colors or decals.
- Safety first: Remember to always wear safety equipment such as gloves and eye protection when working with tools.
By following these steps and making necessary adjustments along the way, you can create your own homemade hockey skates that are custom fit for your feet and ready to hit the ice.
Create The Plate
To properly shape and mold the skate blade for your homemade hockey skates, there are several crucial steps you must follow. These steps ensure that the skates fit comfortably and securely to your feet, allowing for optimal performance on the ice. Follow these steps carefully to create the perfect pair of skates.
Firstly, begin by heating up your skates using a skate baking machine or oven. Be sure to follow the manufacturer’s instructions carefully, as different skates may require different temperatures and durations of heating. This step is crucial as it softens the material of the skates, making them easier to mold.
Once heated, put on your socks and any custom insoles you may have. It’s important to wear socks to ensure that the skates mold to your feet properly, rather than just the bare boot. In addition, wearing custom insoles can provide extra comfort and support.
Next, put on your shin guards to protect your shins from the heat and potential injury. This is an essential step as it helps prevent any accidents or discomfort while molding the skates.
Carefully step into the skates, making sure they are snug but not too tight. This ensures that the skates fit comfortably without causing any discomfort or pain during use.
Allow the skates to cool down on your feet. This is when the molding process will occur, so it’s important to keep still and avoid moving around too much. The cooling process may take some time, but it’s crucial for achieving a perfect fit.
Once cooled, remove the skates and check for any pressure points or discomfort. If necessary, you can use a heat gun or hot water to spot-heat and adjust specific areas for a better fit. This step is helpful for fine-tuning any problem areas and ensuring maximum comfort while wearing the skates.
Finally, add your preferred blades to the bottom of the skates according to the manufacturer’s instructions. Be sure to secure them properly before hitting the ice.
The Movable Knife
The blade, also known as the movable knife, is an integral part of a handmade hockey skate. Its primary purpose is to enhance control and agility on the ice, enabling smooth movements and precise cuts. The shape and arrangement of the blade play a crucial role in its performance.
Various types of grinds, such as flat grind and hollow grind, can impact the sharpness and slicing ability of the blade. A flat grind features a straight edge, making it ideal for slicing and cutting motions. On the other hand, a hollow grind has a concave shape, allowing for better penetration and deeper cuts into the ice.
Apart from grinds, there are other factors to consider when evaluating the functionality of the movable knife. These include belly, swedge, choil, and bevel. The belly refers to the curved part of the blade, while the swedge is the unsharpened tip. The choil is located between the handle and the blade, while the bevel is the angle at which the blade is sharpened. All of these elements work together to influence how well the knife performs on the ice.
The material used for the handle can also have an impact on the performance of the movable knife. For instance, a G-10 or carbon fiber handle may be lighter in weight and provide a better grip compared to other materials.
Furthermore, pocket clips are an essential feature of modern hockey skates that allow for different carrying positions while keeping the knife secure in your pocket. This feature adds convenience for players who need quick access to their knives during a game or practice.
Shape The Blade
The way a hockey skate blade is shaped can significantly influence a player’s performance on the ice, as it directly affects their speed, agility, control, and accuracy.
The blade’s shape is determined by its radius and angle, with a sharper edge providing greater maneuverability and precision, while a flatter edge offers more stability and balance.
Ultimately, the blade shape should be tailored to suit the unique skating style and preferences of each individual player.
However, finding the perfect blade shape is not just about copying what others are doing or simply choosing between sharp or flat edges. It requires careful consideration of one’s own skating style and preferences.
For instance, if you tend to make quick turns and rely on fancy footwork, a sharper edge may be more suitable for you. On the other hand, if you prioritize stability and balance on the ice, a flatter edge may be a better fit.
Secure The Toe Plate To The Blade
When it comes to creating your own hockey skates at home, properly securing the toe plate to the blade is crucial for optimal performance and safety. To ensure a smooth and successful process, follow these steps:
- Get the right tools: Before starting, gather all the necessary materials including pliers or hand-tools, toe plates, and blades.
- Carefully connect the two parts: Using pliers or hand-tools, securely attach the toe plate to the blade. Be sure to take your time and handle with care to avoid damaging any of the materials.
- Mix it up: Consider using tools from different brands to make this process easier and more efficient.
- Choose wisely: Depending on your intended use for the skates, make sure to select appropriate materials such as foam or plastic for casual skating at home, and sturdier materials like metal or glass for more intense activities like sports or traveling.
- Enjoy the journey: Making your own hockey skates can be a fun and fulfilling project. Take your time and enjoy the creative process before considering selling them.
Other Things To Consider
- Personalization: One of the benefits of crafting your own hockey skates is the ability to tailor them to your liking. This can involve customizing the fit, incorporating unique designs or colors, and implementing specific features for improved performance.
- Cost: While creating your own hockey skates can be a fulfilling experience, it’s important to consider the cost. The materials and tools needed can be pricey, and it may be more cost-effective to purchase pre-made skates.
- Time: Crafting hockey skates at home is a time-intensive process that requires patience and meticulousness. It may take several hours or even days to complete a pair of skates, depending on your skill level and the complexity of the design.
- Maintenance: Like any other equipment, homemade hockey skates will require regular upkeep to ensure they last long and perform well. This includes sharpening the blades, replacing worn-out parts, and properly storing them after use.
- Skill level: Making hockey skates at home requires a certain level of skill and knowledge, particularly when it comes to using tools and understanding the mechanics of a skate. It’s essential to assess your skill level before attempting to create skates and seek assistance if needed.
- Safety precautions: Taking necessary safety precautions is crucial when making hockey skates at home. This involves wearing protective gear, using tools correctly, and carefully following instructions.
- Purpose: Before embarking on the process of crafting hockey skates at home, it’s important to consider their purpose. Will they be used for recreational play or competitive games? This can impact the design and materials chosen.
- Environmental impact: Creating hockey skates at home may have an effect on the environment, depending on the materials used and how they are disposed of. It’s vital to be mindful of this and opt for eco-friendly alternatives whenever possible.
- Legal issues: Researching any legal restrictions or regulations is crucial before making hockey skates at home. Some areas may have limitations on using homemade equipment in certain leagues or tournaments.
- Enjoyment: Despite the challenges and considerations, crafting your own hockey skates can be a fun and enjoyable experience.
Conclusion
In conclusion, creating your own hockey skates at home can be a thrilling and fulfilling experience for avid players. Not only do custom-fit skates offer unparalleled comfort and performance, but they also allow for personalization and artistic expression. Moreover, crafting your own skates can be a more budget-friendly alternative to purchasing high-end ones.
The process involves molding and shaping the boot, attaching blades, and adding finishing touches with the right materials and tools.
By embarking on this journey, players can achieve a top-notch product that reflects their unique style and needs.